Your cart is currently empty!
How to Crochet the Perfect Magic Circle: Step-by-Step Guide for Beginners


Introduction to the Magic Circle
If you’re new to crochet or looking to improve your skills, the magic circle is a technique you’ll want to master. It’s the perfect way to start projects that work in the round, like hats, amigurumi, or other circular patterns. Unlike starting with a chain, the magic circle creates a tight, adjustable loop, giving your project a neat and seamless look. In this guide, I’ll walk you through the steps to create the perfect magic circle, with tips and tricks to make it easy for beginners!
A magic circle, also called a magic ring, is a way of starting your crochet projects that require working in the round. It allows you to begin with a tightly closed loop, eliminating the hole that can sometimes appear when starting with a chain. This technique is essential for creating polished and professional-looking pieces, especially when working on projects like hats, coasters, or amigurumi toys.
Why Use a Magic Circle?
Using a magic circle offers several benefits, including:
• Tight Finish: The magic circle allows you to pull the loop tightly, eliminating any gaps in the center of your project.
• Adjustability: You can adjust the size of the circle as needed to fit your project.
• Professional Appearance: This technique results in a neat and seamless look, perfect for high-quality crochet items.
Step-by-Step Guide
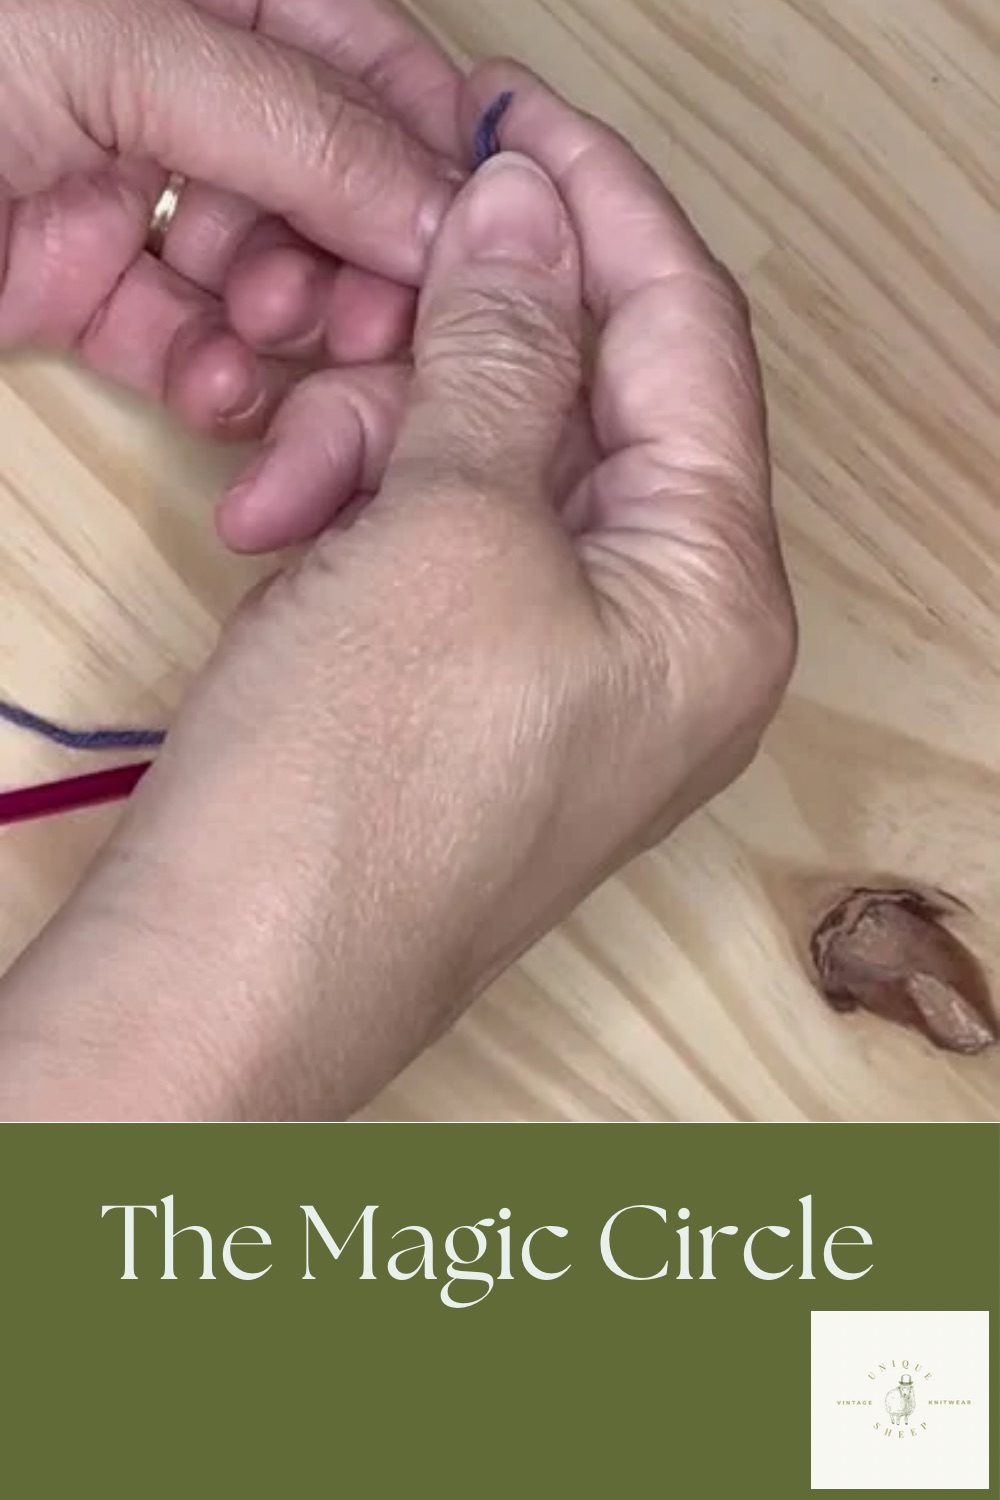
1. Create a Loop:
Start by draping the tail end of your yarn over your thumb with the loose end in back.
2. Loop the Yarn Again:
Loop the yarn again. Now you have two loops over your thumb
3. Pull the back loop over the front one
Pull the back loop over the front one and gently pull to create the loop.
4. Work Your Stitches into the Loop:
Start with a ch one then begin crocheting the required number of stitches into the loop. Be sure to work over both the loop and the tail end of the yarn.
5. Pull the Tail to Close the Circle:
Once you’ve completed the first round, pull the tail end of the yarn to tighten the circle and close the loop. The magic circle should now be tightly closed.
6. Continue Your Pattern:
Now that you’ve completed your magic circle, continue working your pattern as instructed. Your project will begin to take shape, starting with a neat, seamless center.
Tips for Perfecting Your Magic Circle
• Use a Smooth Yarn: If you’re a beginner, using a smooth yarn like cotton or acrylic can make the process easier. Fuzzy yarns might tangle or make it harder to see your stitches.
• Practice Makes Perfect: Don’t worry if your first few magic circles aren’t perfect. Like anything in crochet, this technique takes practice, so don’t get discouraged.
• Tighten Carefully: When pulling the tail end to close the circle, do it gently. Over-pulling can make the circle too tight and difficult to work into on the next round.
Common Mistakes and How to Fix Them
• The Circle Won’t Close: This can happen if you’ve missed crocheting over the tail end. Always make sure the tail is caught in your stitches.
• Loop is Too Tight to Work Into: If your loop is too small before you finish your first round of stitches, loosen it a bit by gently pulling the working yarn.
Conclusion
Mastering the magic circle is a crucial skill for any crocheter, especially if you enjoy making projects that begin in the round. With this step-by-step guide, you can easily learn how to create a neat and adjustable magic circle that will give your work a professional finish. Whether you’re making hats, coasters, or cute amigurumi, the magic circle is your go-to technique for a polished and beautiful result.
Now that you know how to crochet the perfect magic circle, give it a try in your next project! And don’t forget to share your creations with me on Pinterest or Instagram—I’d love to see what you’re making!
Pin This Tutorial!
Want to save this tutorial for later? Pin it to your crochet board on Pinterest for easy access when you’re ready to start your next round project.
Happy Crocheting!
